
Earlier this year, I promised to post about plying balls. Then new projects cropped up, things got busy, and the whole idea slipped my mind.
Fast forward six months. For Tour de Fleece this year, I launched an effort to complete as many spinning works in progress (WIPs) as I could. Questions popped up on my social media posts featuring plying balls, and I thought to myself, “If only I had a blog post on the subject.” Oops?
This post is a mix of the original Instagram reels I mentioned in January, plus additional information and insights I’ve learned since then. Since not everyone uses Instagram, I reposted the videos to YouTube. If you have Instagram, I shared links to the original posts so you could read the captions and comments for each. Because these videos started life as reels, they are very short—90 seconds or less.
Why use plying balls?
I get this question a lot. Many spinners are perfectly happy with their plying process and finished yarn; the idea of adding in another step baffles them.
I, however, dread plying. And many times, after forcing myself to complete the task, I found the yarn disappointing, lumpy and inconsistent. I finally realized last year that when I separate “aligning singles” from “adding twist”, plying was less stressful and I loved my finished yarn more.
The main difference? I can work out kinks in my singles and make sure they are correctly aligned without having to simultaneously control twist. You can see several times in this video where I completely stop wrapping to smooth out the lumps, bumps, kinks and pigtails in the singles.
Original Instagram post: https://www.instagram.com/reel/C0T-yWbLQIy/
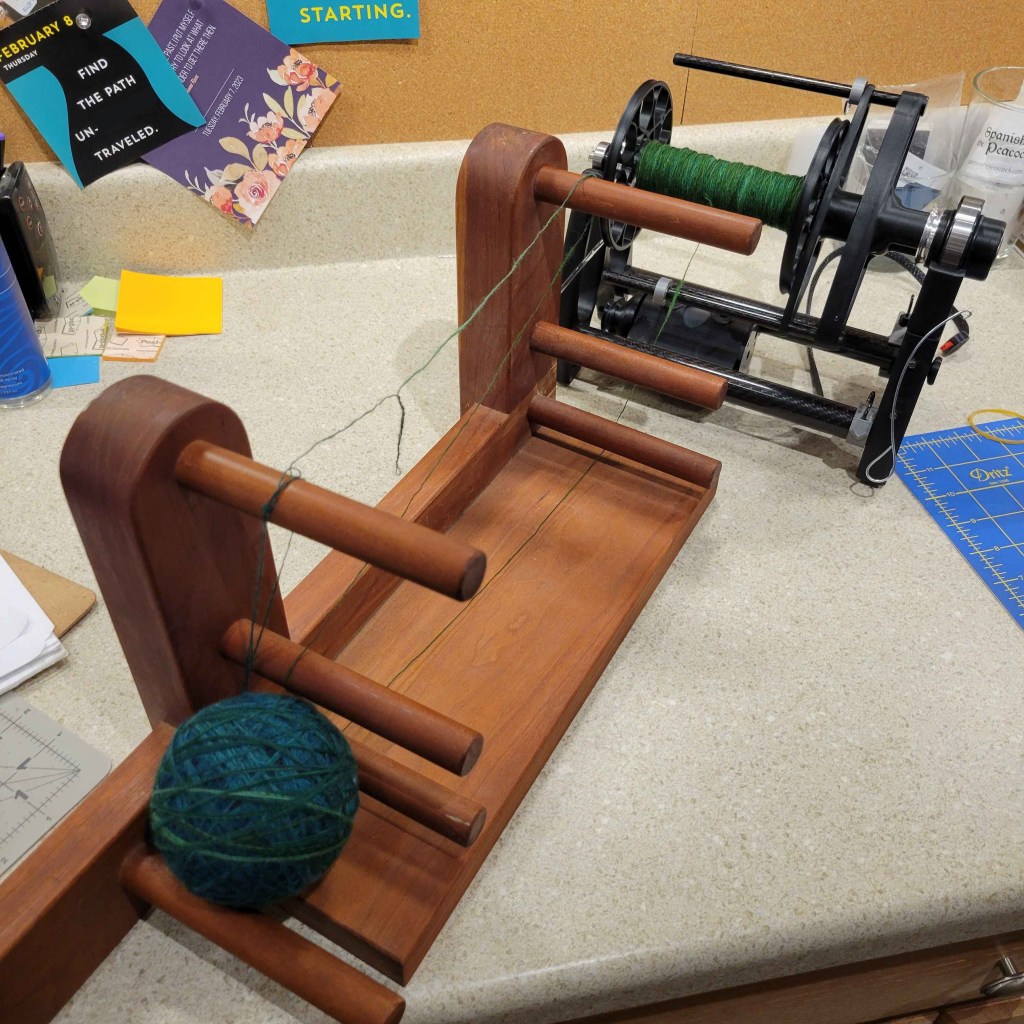
Another method to deal with kinks and pigtails is to place the singles farther from where you’re wrapping (or plying, in the traditional approach of plying straight from the spindles). Since these videos were recorded, I’ve started using an inkle loom to lengthen the distance the singles travel from where it is stored (whether on a spindle, or a bobbin like the photo below), to better even out the twist. Other spinners use a really long hallway to accomplish the same goal, but I prefer this more compact approach. Plus I don’t have long hallways!
For me, the ability to focus on aligning my singles matters most when chaining the singles for a chain ply yarn. Because I’m not fighting against twist at the same time, I can make the chains longer or shorter as needed to control color changes in the singles. If color is less of a factor, I may stick with long chains to minimize the bumps when the singles folds back on itself. I can also make sure that any extra weak or lumpy sections of the singles line up with more complementary areas—or at least, don’t land where the singles folds back on itself. If you want to see that process in action, here’s another Instagram reel specific to chain plying balls.
Another reason for plying balls: compromised singles. One of my Tour de Fleece WIPs had suffered damage throughout the singles, which had been stored for years as two separate balls. (I presume it was insect damage, but I don’t have concrete evidence of the culprit.)
I had tried plying this yarn a few years ago, sans-plying ball. I was so discouraged by the frequent yarn breaks that I threw the singles back into the bottom of my craft closet. I was even tempted to throw them away! I didn’t notice the damage at the time, and blamed myself for being a terrible spinner with such thin weak spots in the singles. Using a plying ball gave me the time and attention to join every single damaged piece of yarn, without having to constantly stop and restart (and re-restart) the plying process. (More about joining below.) Once the yarn was finally plied, you couldn’t even tell the singles had been structurally compromised.
Reducing Hand Strain
When I first started using plying balls, I folded a scrap of paper towel for the core. How my hands ached once I finished wrapping! Now my preferred core is a wool dryer ball, but anything round and fuzzy, like a tennis ball, would do the trick.
This strategy has the added bonus that I can’t do laundry until the plying is done!
Original Instagram post: https://www.instagram.com/reel/C0T-yWbLQIy/
Adding New Spindles
This video shows how I add in a new singles yarn when a spindle runs out. Many spindle spinners leave the beginning and ends of the singles fluffy and unspun. They then spin the ends together like any other join during the plying stage. I have never mastered this process, so I resort to laying the new spindle’s singles alongside the one that’s ending. Because this stage is about aligning the singles, I can overlap them far enough that they won’t yank apart later when I add the twist. In this example, the yarn will technically be a three-ply for the section where the old and new singles overlap.
Original Instagram post: https://www.instagram.com/reel/C0wY1YUrCEZ/
Leftover Singles
No matter how carefully I split the fiber and plan out my spin, one singles always runs out first. For this project, I used a small nostepinne to wrap a center pull ball, so the leftover singles can be plied to itself. Unfortunately, the approach was tedious and time consuming. Wrapping the nostepinne added twist, which made the process even more challenging. However, the center pull ball solved my leftover singles problem, and not a single scrap of that precious batt went to waste.
Original Instagram post: https://www.instagram.com/reel/C0wY1YUrCEZ/
In retrospect, I should have left the center pull ball on the nostepinne, rather than sliding it onto the straw and placing the straw on the plying stand. Regardless, next time I encounter this situation, I will try a plying bracelet instead. Often referred to as “Andean plying”, this is a perfect method for dealing with small amounts of yarn that you want to ply end-to-end. For smaller amounts of leftovers, using one’s own hand and wrist works well but I also have a wooden plying tool that accomplishes the same task for longer yardage.
Have you tried a plying ball before? What did you think of the experience?
Administrative notes: 1) Video order: You may have noticed the video names don’t match their sequence. The original Instagram reels were posted in the order they were recorded, not in the order that made the most sense from a narrative perspective. 2) Tools used: each video features my Spanish Peacock plying stand (a.k.a., plying kate), which was a prototype for the ones currently offered. I also stash the spindles in a SP storage stand to hold the spindles upright when not in use. In the last video, I also used a mini nostepinne from Spanish Peacock, along with a metal straw with silicone silencers from Amazon.com.

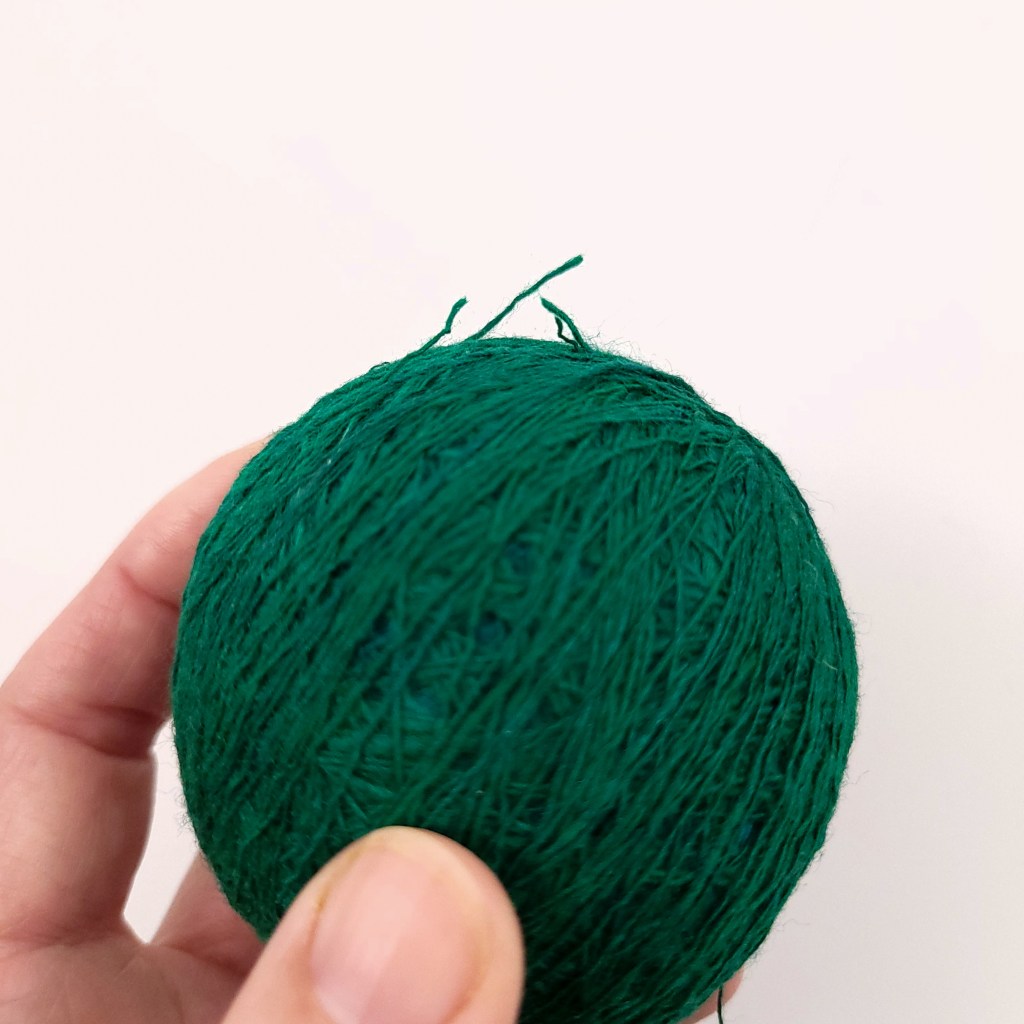
[…] Once the yarn was on the bobbin, I wrapped a chain plying ball… […]
LikeLike
[…] all of each singles on one spindle made it even easier to create the chain plying balls, since there were zero joins to manage. My hands protested mightily by the end though, so cops with […]
LikeLike
[…] wasn’t long ago—early 2023—when I realized the power of plying balls. I know, I know. You’re sick of hearing about them. But before that, every time I faced the […]
LikeLike
[…] the plying ball. If you’ve read my ode to this technique, you already know how this story ends. This time, I took the time to wind those fragile singles […]
LikeLike
[…] which would create a weak spot in the plied yarn. If I decide on the chain-ply option, I’ll use a plying ball so I can make the chains long enough (if needed) to minimize this problem. This challenge is less […]
LikeLike
[…] three rolags spread across two spindles. I used a plying ball to control the length of the chains so the colors would have some separation from each other in the […]
LikeLike