
Starting January 1st, I’m hosting a gradient spinalong on the Spanish Peacock Flock Facebook group. (If you’re interested in joining the spinalong, you can learn more about it here).
I am still debating which to choose of the many gradient braids in my stash – hey, I have two days left to decide! I polled both Instagram and Facebook, and the responses were pretty evenly split between these two beauties, both haunui-silk blends from Allons-y! Fiber Arts.
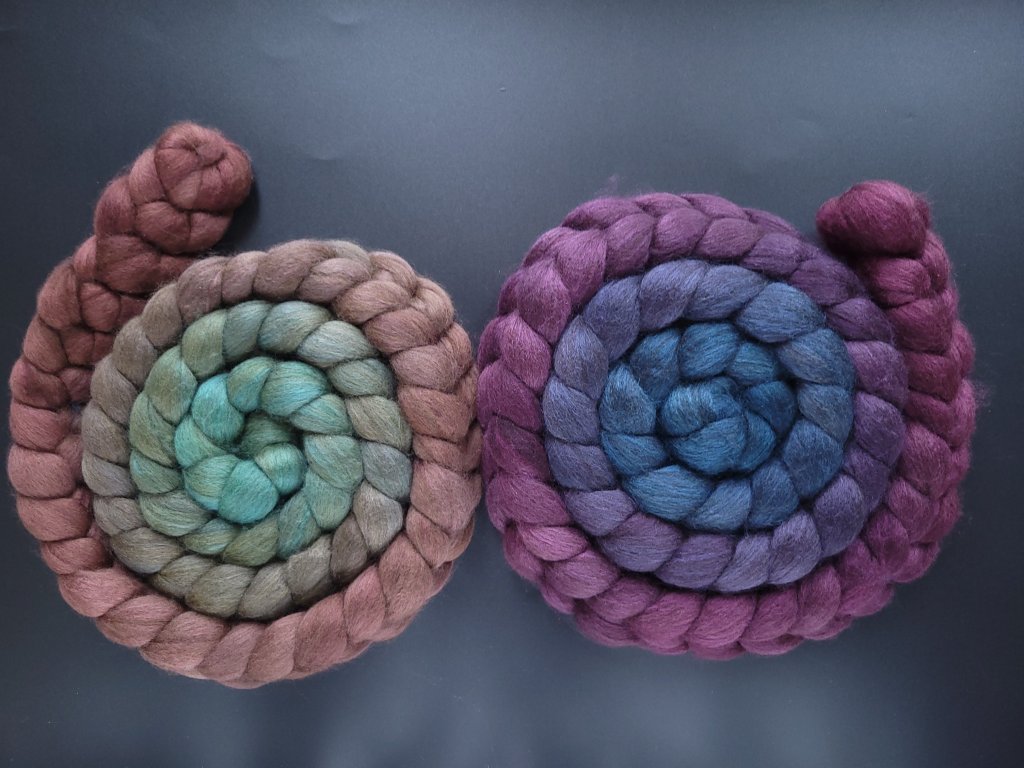
But whichever beautiful braid I end up spinning, I have to answer the same question: what is the best technique to spin and ply a gradient?
As always, the answer is “it depends!” It really helps to plan ahead. This is an area where I’m still improving. And for a gradient yarn, it helps immensely to decide how you will ply before you even start spinning.
Chain plying (also known as Navajo plying) offers the best color preservation in the final product, because the singles yarn is folded back on itself in a crochet-like-looping technique. Because of how the yarn folds back on itself, you can only get a three ply (or multiples of three, if you are particularly dexterous). Additionally, chain plying guarantees no leftover singles yarn due to different lengths of singles, making it a great option if you have a particularly precious fiber where you want to maximize how much of it ends up in the yarn. On the other hand, some people find it challenging to manage the singles yarn. Others dislike chain plying because of the small lump it creates in the yarn when the singles changes direction.
The other option involves plying separate singles. This offers the flexibility in the number of plies, since the yarn can be two (or three or four or however many) ply. Unfortunately it can be very fiddly to split the braid along its length and make sure the pieces are even (which we experienced with the Fractal spinalong earlier this year). And no matter how careful you are, your singles will never perfectly match up, so there will be some blending of the colors where the transitions occur.
(Obviously braids of combed top aren’t the only fiber prep that can be used to spin a gradient, but that’s what I’m focusing on since that’s what I’m spinning! Rolags and punis can also be gradient-colored, and you can even assemble your own gradient spin from different items in your stash, as long as they were the same or very similar fibers.)
If you opt to chain-ply, you can jump in and start spinning with a minimum of fiber prep. If you decided on separate singles, on the other hand, you first need to divide the braid into however many plies you want for your final yarn. In both cases, pre-drafting helps keep the color transitions clean while you spin. (Another lesson I learned during the Fractal spinalong!) Pre-draft by fluffing your braid sideways, and then stretching the fibers carefully away from each other lengthwise. Counterintuitively, predrafting also makes spinning faster, because you will waste less time drafting compacted fibers and teasing out slubs.
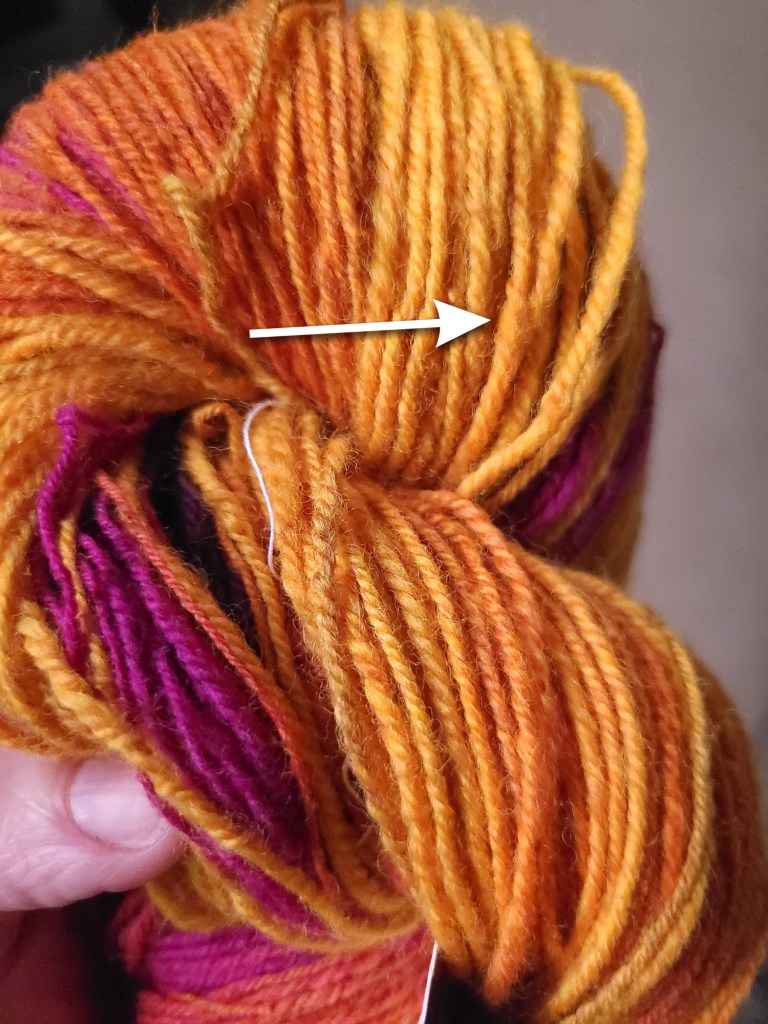
In my case – I’m going to split the braid in half lengthwise, then spin and ply two gradient singles. I want a two ply yarn for the crisp definition it adds to lace knitting. And I’m abysmal when it comes to chain plying. I still haven’t plied my Tour de Fleece 2020 singles, which were designed to create a gradient from black, to orange, to black again. And I haven’t plied most of my other spinning projects because I need to practice chain plying but I don’t want to! It requires more concentration than I usually can spare.
Guess I better quit typing and start splitting my braid! Only… which one?

[…] mentioned this previously when discussing how to plan for a gradient spin. Which this spin technically is. Again. Because somehow gradients seem to be what I spin most. Not […]
LikeLike
[…] blog post, the seeds of an idea formed. The Fiber Prep spin was a direct response to my earlier Gradient spin whose long color transitions turned out to be boring for me to spin, ply and finally knit. I knit […]
LikeLike